 A docile mute swan. Trying to paint more!
Tuesday, December 28, 2010
Sunday, December 26, 2010

New paintings up on Flickr, as well as a recycled catalog wreath, a peek at my Christmas tree, and an array of wooden letters I've painted for a friend.
Saturday, October 16, 2010
I've been having a great time playing with my new Japanese masking tape! This is amazing stuff- it comes in every color and pattern you can imagine. I ordered mine on Etsy, here. I've found that it makes a marvelous spine for a handmade book, or decoration in scrapbooking, cardmaking, or any other paper crafts for that matter. Here it is on a recycled sketchbook I made:

Also, I updated the craft compilation with lots of new tutorials craft websites.

Also, I updated the craft compilation with lots of new tutorials craft websites.
Sunday, September 19, 2010

Sunday, September 12, 2010


Updated the Tutorial Compilation with more links. Discovered a fun new blog by a textile artist, Michele Made Me.
Thursday, September 9, 2010
Just a note- I had a grand time this summer testing out crafts from all over the internet. Since so many that I found were wonderful, I started a compilation (linked here in the sidebar to the left) of craft blogs and tutorials you must explore! I will keep updating this page whenever I find more great material.
Fall Tree Tutorial
Here is a charming little craft that I do in my classroom with kindergarten. With adult help, preschoolers can do this, too. I haven’t tried this with larger grocery bags, but it might work with them as well as these small bags.

Materials:
-A brown paper lunch bag
-Scissors
-Elmer's or other craft glue
-A pencil
-Tissue paper cut into 1 1/2 to 2 inch squares, I used a mix of red, orange, yellow
-A chunk of cardboard to serve as a base, a bit larger than the bottom of the bag
-Green construction paper for grass, if desired
1. Draw four lines along the top of the bag, each about 4 inches long, equidistant from one another. Cut along the lines, but no further. We need the rest of the bag for the trunk and roots.
2. Reach in and open the bag, so that it can stand by itself.
3. Hold the bottom of the bag in one hand, twisting the bag with the other. This forms the trunk section.
4. Gently fan out each branch and twist it as you did the trunk, in order to create the branches. I like to double some of them up for variety- this means you twist the two at one about halfway up the branches, and then twist the rest separately. I did one of these very close to the right edge of the step 5 photo.
5. Twist all the branches and glue the bottom of the bag to your cardboard "ground."
6. Now for leaves: grab one square of tissue paper and wrap it on top of the pencil's eraser. While you hold it still with one hand, use the other to dab one small dot of glue onto the tissue paper. Don't let go of the pencil yet . . .
7. Press the pencil onto the desired branch and use it to hold the tissue paper in place while you wait for the glue to dry. I tell my students to count to thirty, and then ever so gently take the pencil off. Fill the tree with tissue paper leaves. You can even add some to the ground to make it appear that they've fallen there.
8. If you want, you can add grass along the base with some fringed green construction paper. If your kids are a bit older, they might like to add something extra, like a bird, bat, pumpkin, fence, etc.

Materials:
-A brown paper lunch bag
-Scissors
-Elmer's or other craft glue
-A pencil
-Tissue paper cut into 1 1/2 to 2 inch squares, I used a mix of red, orange, yellow
-A chunk of cardboard to serve as a base, a bit larger than the bottom of the bag
-Green construction paper for grass, if desired
1. Draw four lines along the top of the bag, each about 4 inches long, equidistant from one another. Cut along the lines, but no further. We need the rest of the bag for the trunk and roots.
2. Reach in and open the bag, so that it can stand by itself.
3. Hold the bottom of the bag in one hand, twisting the bag with the other. This forms the trunk section.

4. Gently fan out each branch and twist it as you did the trunk, in order to create the branches. I like to double some of them up for variety- this means you twist the two at one about halfway up the branches, and then twist the rest separately. I did one of these very close to the right edge of the step 5 photo.
5. Twist all the branches and glue the bottom of the bag to your cardboard "ground."
6. Now for leaves: grab one square of tissue paper and wrap it on top of the pencil's eraser. While you hold it still with one hand, use the other to dab one small dot of glue onto the tissue paper. Don't let go of the pencil yet . . .
7. Press the pencil onto the desired branch and use it to hold the tissue paper in place while you wait for the glue to dry. I tell my students to count to thirty, and then ever so gently take the pencil off. Fill the tree with tissue paper leaves. You can even add some to the ground to make it appear that they've fallen there.
8. If you want, you can add grass along the base with some fringed green construction paper. If your kids are a bit older, they might like to add something extra, like a bird, bat, pumpkin, fence, etc.
Saturday, September 4, 2010


Friday, August 6, 2010

Tuesday, July 20, 2010
Completely adorable idea- ice cream in a jar. Instructions for the jar here at City Cradle Designs, and a super cute spin off, an ice cream party, from MartaWrites by way of You Are My Fave. Whew!
Thursday, July 15, 2010
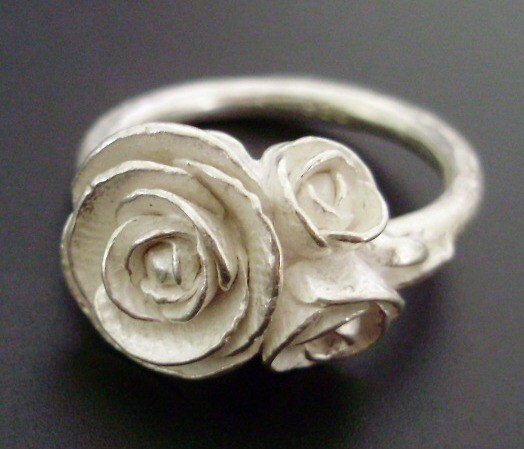
One of the pretty, pretty blogs I read, Oh, Hello, Friend, is hosting a giveaway of some of the most unabashedly gorgeous jewelry I have ever seen, created by BlushEnvy. Not all of it is this large in size, but every piece is a showstopper. It's free, and super easy to enter, and the prize is a $100 gift certificate to BlushEnvy's shop! Run, do not walk, my friends.
Monday, July 12, 2010
Fellow Sharpie junkies: Target has the limited edition Caribbean colors on clearance for $3.14 a pack. That's five colors: Stingray, Surf, Flamingo, Lime Daquiri, and Coconut!

Image from the Official Sharpie Markers Blog.
Image from the Official Sharpie Markers Blog.
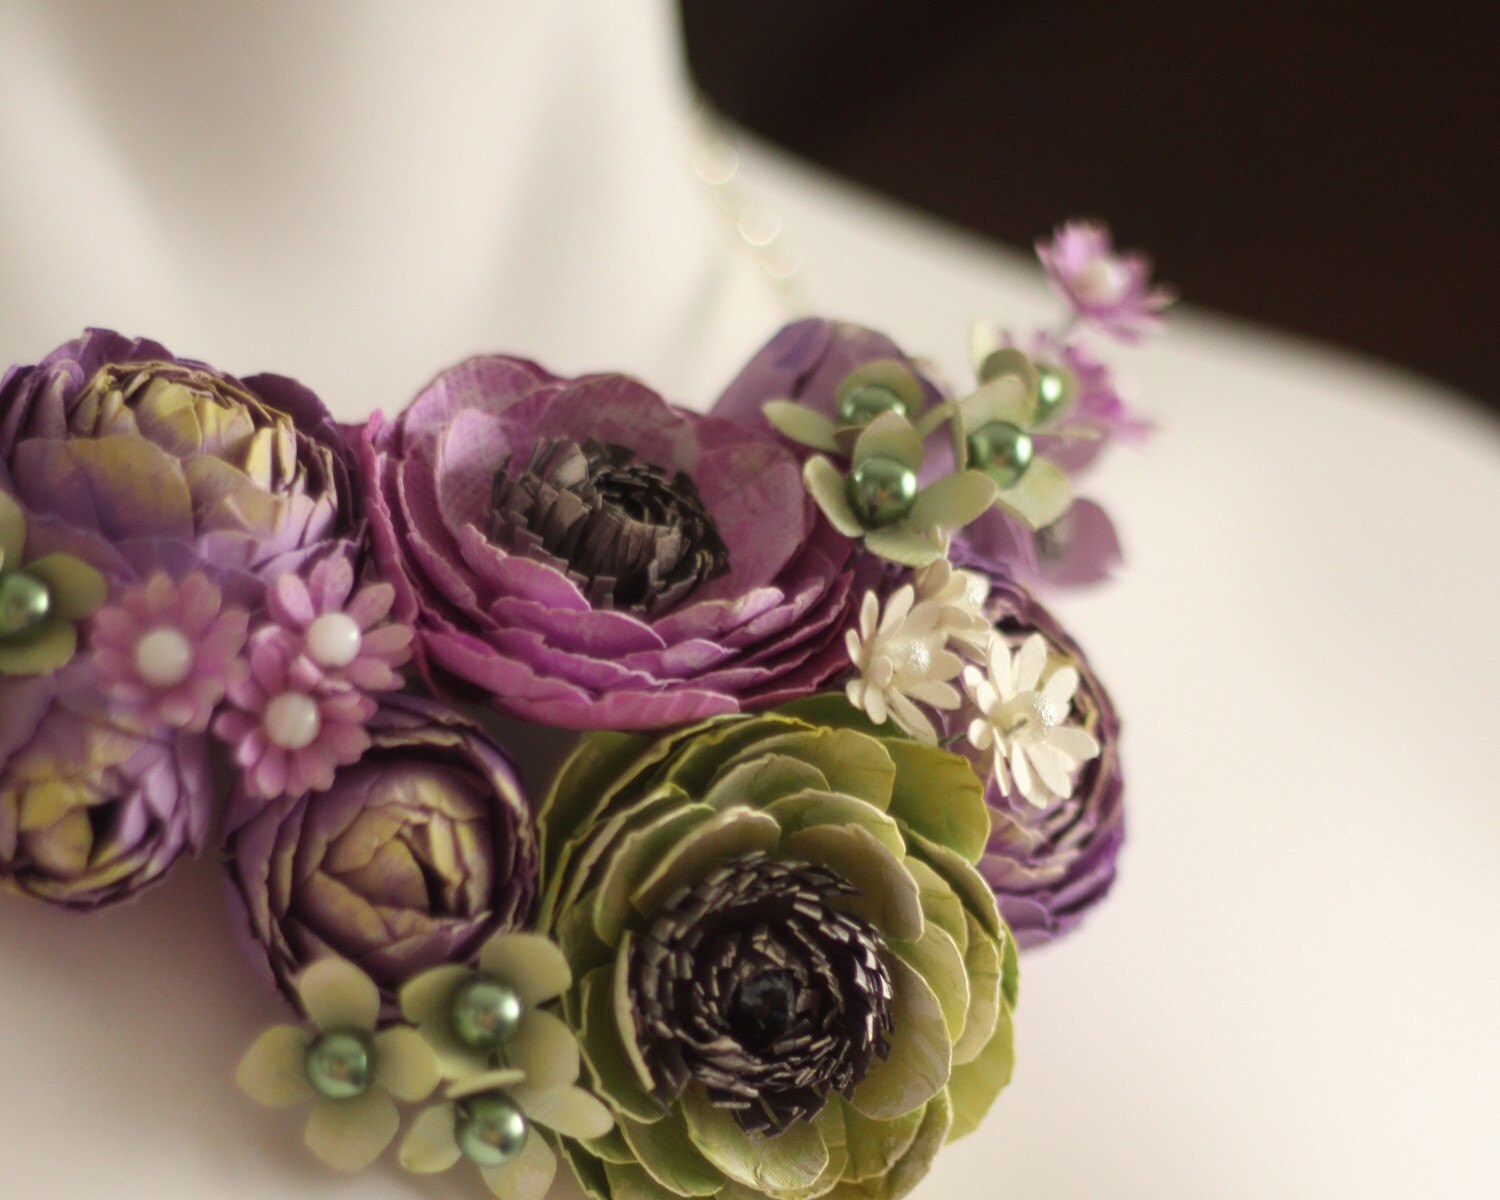
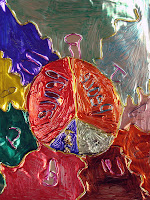
Hue: Tomato
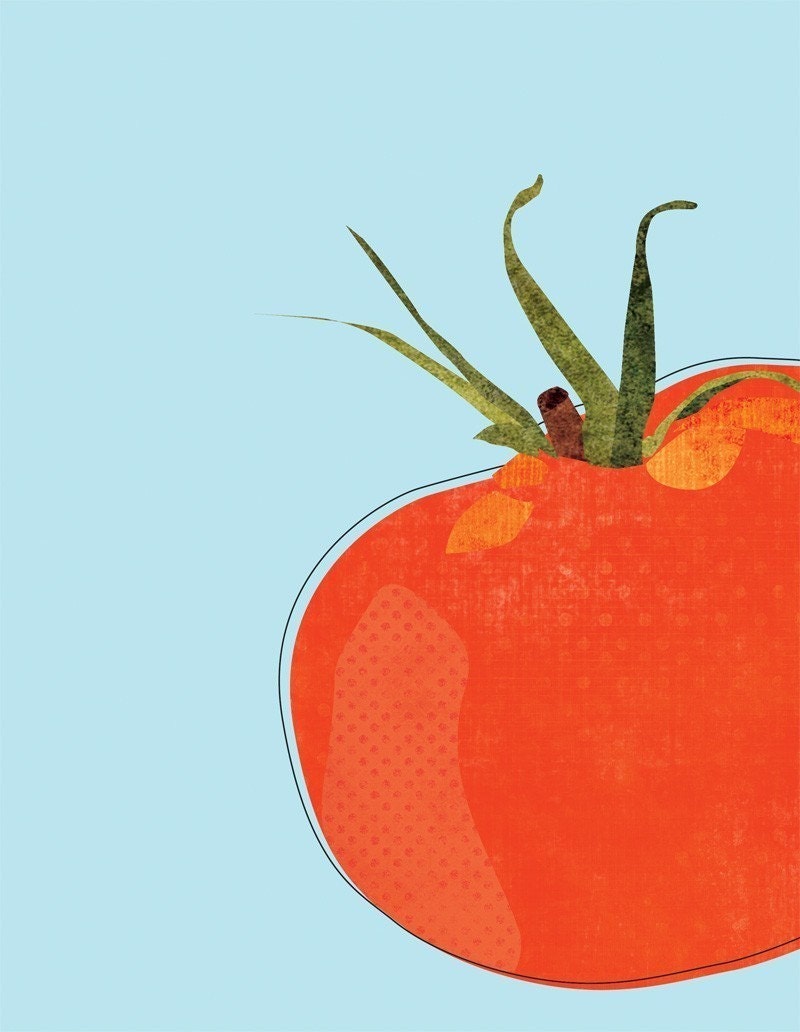
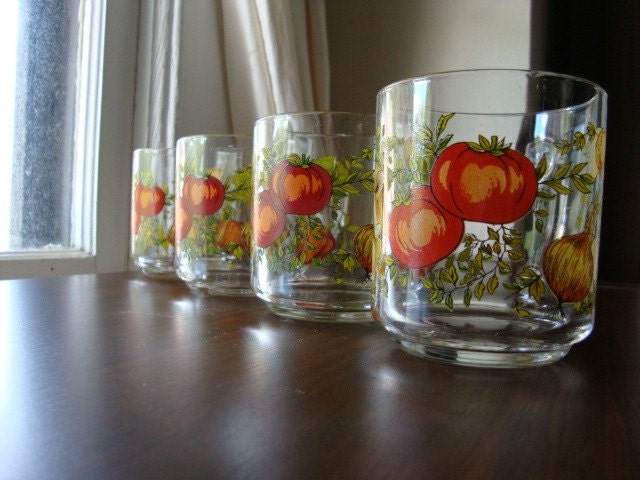
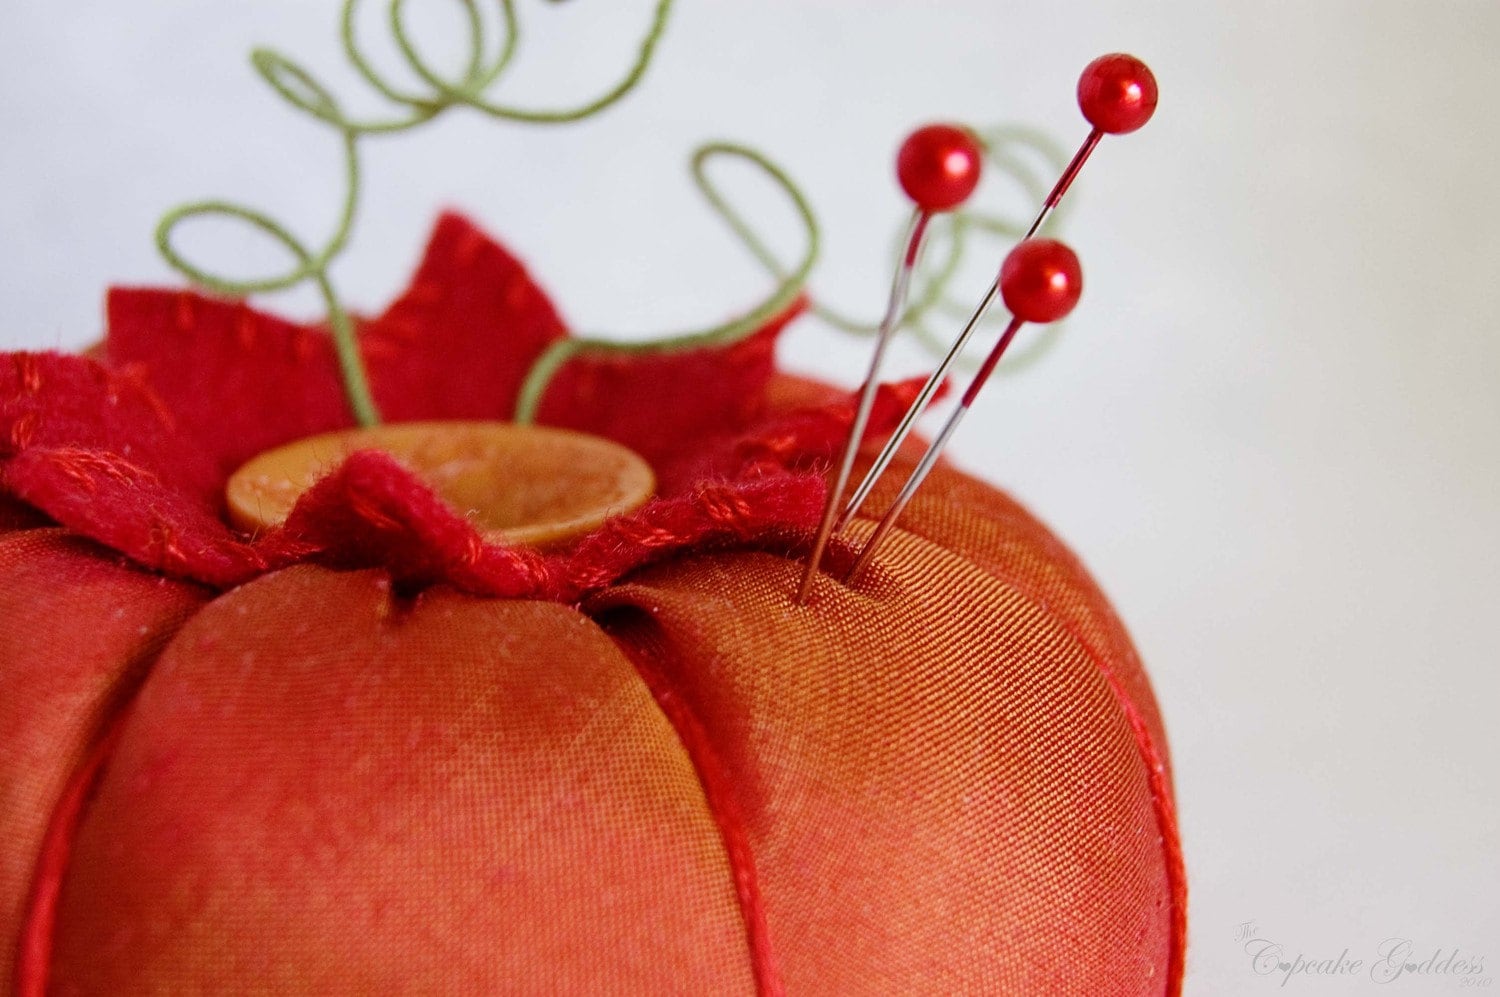
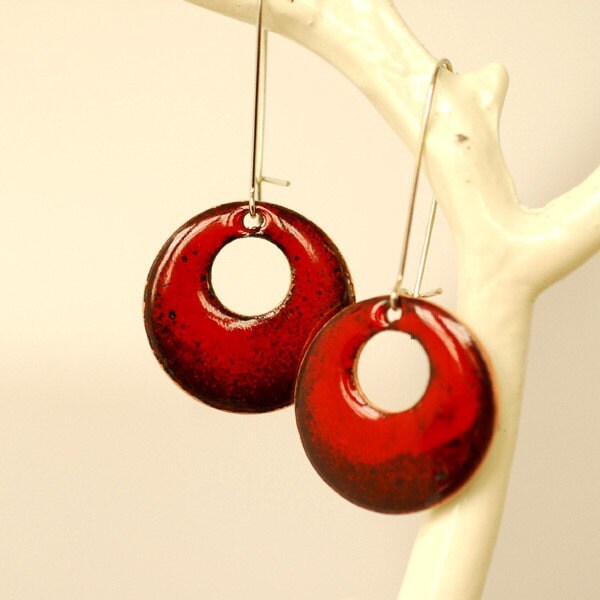
Tomato art print by Kitchenwizard, vintage mugs from iWunderVintage, enameled earrings by Dandelionblu, pin cushion by thecupcakegoddess.
Friday, July 9, 2010
Fifth Grade
Contour Paintings


Fifth graders honed their observational skills in this project, drawing objects of their choosing from direct observation. We talked about contour drawing techniques, and looked to Pablo Picasso's elegant line drawings for inspiration. These drawings were outlined in Sharpie and painted with tempera in non-naturalistic colors.
Keith Haring Prints


Keith Haring's freely expressive, linear, playful style appeals to the masses, so his work was the springboard for this Styrofoam print process. Students first made sketches, then traced those designs onto a sheet of Styrofoam, leaving indentations anywhere they drew lines onto the soft surface. The foam "plates" were inked and printed onto construction paper.
Wayne Thiebaud Cupcakes


Food is often and engaging subject, especially when it's junk food! I've always admired Wayne Thiebaud's food paintings, so here they are manifested in my classroom. I created fake cupcakes using spray insulation foam, and painted and decorated them so they would be different and fun. We also used fake french fries, dirt cake, and ice cream as subjects for these drawings. We learned about shading a form, so students were careful to include shadows, highlights, and a heavy cast shadow in their drawings. Rich, beautiful color was achieved by blending and mixing oil pastels. These were drawn on gray paper to help the light colors pop.
Cuckoo Clocks


As a kid, I was fascinated by my grandmother's cuckoo clocks- they're so detailed, folksy, and intriguing. Since woodcarving obviously isn't an option for an elementary classroom, we used corrugated cardboard I had stockpiled from the year's art supply order. For assembly, we needed Tacky glue and low temperature mini glue guns since Elmer's dries too slowly for a three dimensional structure with this kind of bulk. Lastly, students embellished with Sharpie to mimic the intricate carving on the real McCoy.
Endangered Species Cyan Print


The only reason my students could do this nifty project is one special product: light sensitive paper. This is about as close as I could get to a photographic experience for my students, since we have no dark room. We borrowed five overhead projectors from some obliging friends around the building to serve as the light source. Kids printed out images of the endangered species they had been studying in a classroom project, and traced the animal onto a transparent sheet of plastic (in this case, part of a sheet protector) with, yup, you guessed it, a Sharpie marker. Thicker Sharpies are actually best for this process since they are crisp, clear, and extra opaque. Once that drawing was done, kids came to the projector, where they were given a sheet of light sensitive paper. Quickly, they dropped their transparent drawing onto the projector bed, followed by the sheet of light sensitive paper facing down, and topped with a heavy book to cover it all up and trap the light. We timed the exposure with stopwatches; in this case to 2 minutes, 45 seconds. The print gets dropped immediately into a bath of water for a minute, and then it's done! If you get this paper, you can do these prints at home with sunlight instead of the projector. You needn't rely on a photo or drawing as a subject, either- you can lay objects on the paper itself, like leaves, feathers, shells, anything you like.
Klimt Self Portraits


For the fifth grade self portrait, we looked to painter Gustave Klimt. His gloriously lovely portraits feature realistic renderings of faces and arms, but wildly stylized depictions of clothing and background. They're bursting with color and pattern, and embellished with real gold leaf. Fifth graders first created a tissue paper collage on an 8 by 10 inch canvas board. Then, they drew a small self portrait of only their faces (or hands if they wished) on tagboard. This was cut out and glued to the canvas, which was then painted to make the clothing and patterns in the background. We imitated the gold leaf with metallic paints.
Wednesday, July 7, 2010
Fourth Grade
Superhero Self Portraits


The fourth grade self portraits were funny and whimsical. The kids had a great time designing the costumes and superpowers. We used simple ovals to build a complex shape- the human form. These were done with pencil and Sharpies.
Logo Design


This was the first in a group of three projects with a business slant. Students designed a logo with Sharpies on sheets of aluminum that they embossed and engraved.
Shoe Contour Drawing


As preparation for the clay shoe sculpture, students did contour line drawings of their own shoes, paying extra close attention to decorative details, laces, seams, and soles.
Clay Shoe


Using what they had learned from closely observing real shoes, students designed an original shoe prototype in red earthenware and glazes. This is one of my favorite projects of all and they get a charge out of it too!
Escher Tessellation


The more analytically minded kids really enjoy learning about M.C. Escher and his meticulous tessellations. We created our own by making a tracer from an index card and tracing it repeatedly and transforming some shapes into creepy creatures. These were done in pencil, Sharpie, and colored pencil.
Matisse Paper Collage


These vibrant and beautiful collages were inspired by the cut paper work by Henri Matisse. Students were asked to include examples of both geometric and organic shapes. A sense of unity was established by repeating shapes. We used fabulous Fadeless Paper and some fancy schmancy scissors in this project.
O'Keeffe Painting


Fourth graders examined the paintings of Georgia O'Keeffe and created their own by closely observing silk flowers, antlers, shells, and bones. These are watercolors.
Khan Landscape


These mysterious chalk pastel drawings were achieved with a nifty stenciling process. We looked at the bright and expressive landscapes by painter Wolf Khan as inspiration, borrowing his palette, horizon line, and techniques for creating a sense of space.
Board Game Design


Board game designs are an an opportunity for kids to show their creativity, ingenuity, and sense of humor. These are only the boards- kids also created game pieces, draw cards, spinners, and dice depending on the rules of their game. We used Sharpies and Prismacolor Art Stix, which are woodless colored pencils.
Comic


At the close of the school year fourth graders created comics with markers and pens. These could be humorous, like Calvin and Hobbes, or adventure-based, like Spiderman. Some cartoon techniques we explored include speech bubbles, action, onomatopoeia, simplified characters, outlines, and personification.
Superhero Self Portraits


The fourth grade self portraits were funny and whimsical. The kids had a great time designing the costumes and superpowers. We used simple ovals to build a complex shape- the human form. These were done with pencil and Sharpies.
Logo Design
This was the first in a group of three projects with a business slant. Students designed a logo with Sharpies on sheets of aluminum that they embossed and engraved.
Shoe Contour Drawing


As preparation for the clay shoe sculpture, students did contour line drawings of their own shoes, paying extra close attention to decorative details, laces, seams, and soles.
Clay Shoe


Using what they had learned from closely observing real shoes, students designed an original shoe prototype in red earthenware and glazes. This is one of my favorite projects of all and they get a charge out of it too!
Escher Tessellation


The more analytically minded kids really enjoy learning about M.C. Escher and his meticulous tessellations. We created our own by making a tracer from an index card and tracing it repeatedly and transforming some shapes into creepy creatures. These were done in pencil, Sharpie, and colored pencil.
Matisse Paper Collage


These vibrant and beautiful collages were inspired by the cut paper work by Henri Matisse. Students were asked to include examples of both geometric and organic shapes. A sense of unity was established by repeating shapes. We used fabulous Fadeless Paper and some fancy schmancy scissors in this project.
O'Keeffe Painting


Fourth graders examined the paintings of Georgia O'Keeffe and created their own by closely observing silk flowers, antlers, shells, and bones. These are watercolors.
Khan Landscape


These mysterious chalk pastel drawings were achieved with a nifty stenciling process. We looked at the bright and expressive landscapes by painter Wolf Khan as inspiration, borrowing his palette, horizon line, and techniques for creating a sense of space.
Board Game Design


Board game designs are an an opportunity for kids to show their creativity, ingenuity, and sense of humor. These are only the boards- kids also created game pieces, draw cards, spinners, and dice depending on the rules of their game. We used Sharpies and Prismacolor Art Stix, which are woodless colored pencils.
Comic


At the close of the school year fourth graders created comics with markers and pens. These could be humorous, like Calvin and Hobbes, or adventure-based, like Spiderman. Some cartoon techniques we explored include speech bubbles, action, onomatopoeia, simplified characters, outlines, and personification.
Subscribe to:
Posts (Atom)

